Oil is one of the most essential ingredients in cooking, especially in Indian cuisine. From curries and gravies to snacks and sweets, it helps add flavour to all of these. Without oil, it may feel like something is missing from the recipe, right? However, as much as we love adding oil to our food, let’s not forget that consuming too much can lead to weight gain and other health issues. If you’re trying to follow a healthy diet, you might want to reduce the oil in your cooking. Now, most of us think that not adding oil means losing out on rich flavours. This can make it challenging to give up oil. But what if we told you that you can achieve this without sacrificing taste? Yes, it is possible! Below, we’ll share five secrets to flavourful, healthier cooking you’ll wish you knew sooner.
Also Read: 5 Genius Ways Vinegar Comes In Handy Beyond Cooking

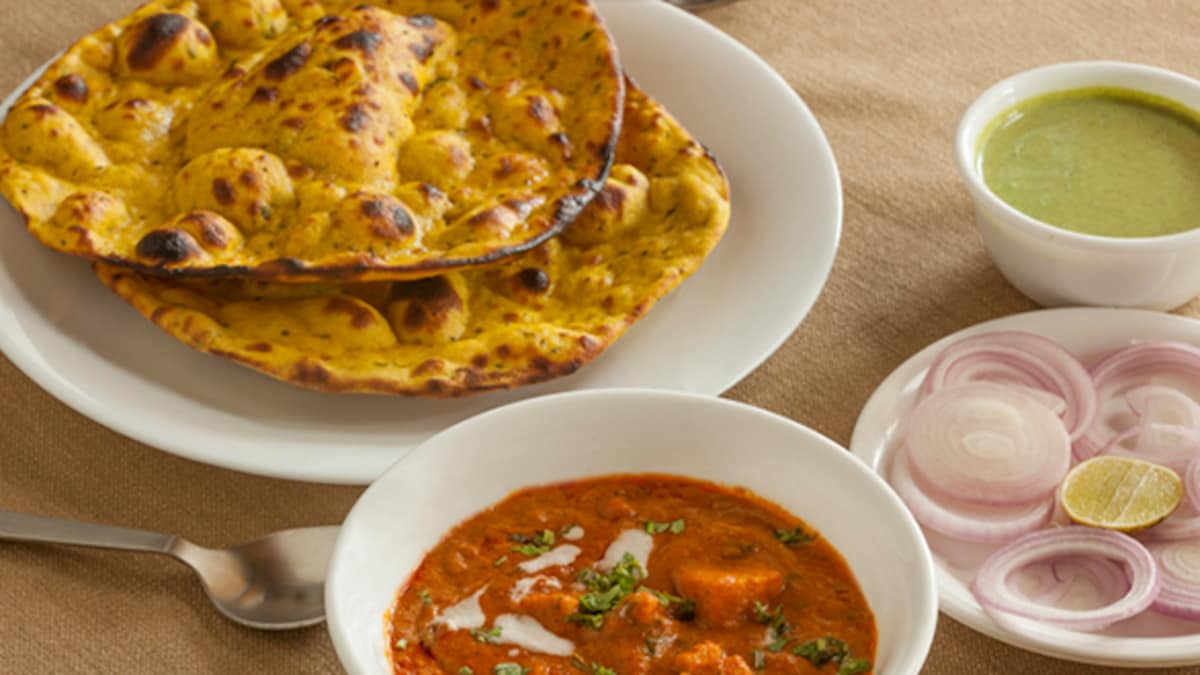
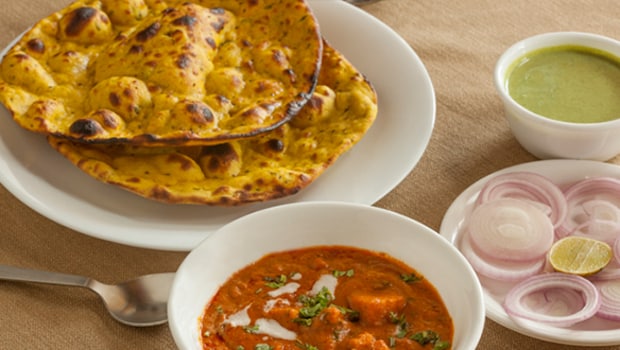
Photo Credit: iStock
Here Are 5 Ways To Reduce Oil In Your Cooking Without Losing Flavour:
1. Invest In Non-Stick Cookware
The type of cookware you use to make food makes a huge difference. When using stainless steel or cast iron, you’ll notice that you require more oil. On the other hand, utensils with a non-stick coating make cooking easier, allowing you to use less oil naturally. Don’t worry – your food will taste just as good! So, make sure to invest in essential non-stick cookware, such as pans and pots.
2. Use Water
Did you know you can use water in place of oil? Yes, that’s right! This method works perfectly while cooking on a gas stove. Simply add some water to the pan and let it simmer. Once it starts to bubble, add the rest of your ingredients. This technique prevents food from sticking to the pan while ensuring you get the most out of your meal.
3. Bake, Pan-Fry, Or Air-Fry
If your recipe calls for frying the ingredients, consider baking, pan-frying, or air-frying them instead. This helps reduce the oil content significantly. For example, if you want to make bread rolls, which are traditionally deep-fried, try baking them next time. They’ll turn out just as crispy, flavourful, and delicious.

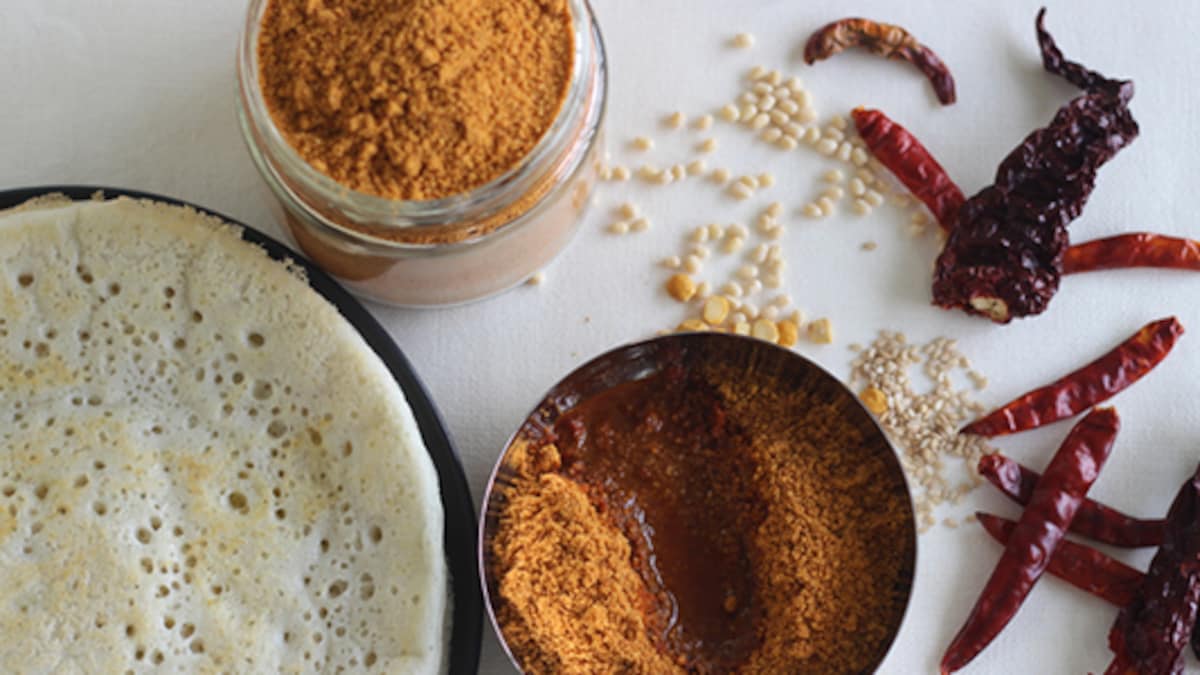
Photo Credit: iStock
4. Use An Oil Spray
Can’t eliminate oil entirely from your recipe? No worries! Make a DIY oil spray. All you have to do is pour the oil into a spray bottle and spray it over the pan before use. This way, you’ll still enjoy the rich flavour of oil but with significantly fewer calories. This trick works like magic every time – do give it a try!
5. Be Generous With Spices/Fats
Another trick to reduce oil without compromising flavour is to be generous with spices and healthy fats. For example, if you want to reduce the oil content in your chicken curry, make sure to compensate with spices. On the other hand, if you’re making korma, add a generous amount of nuts.
Also Read: Ghee Or Coconut Oil: Which Is The Healthier Choice For Cooking?
So, the next time you’re cooking, keep these easy tips in mind! Happy Cooking!