hacklink hack forum hacklink film izle hacklink marsbahisizmir escortsahabetpornJojobetcasibompadişahbetGorabetcasibom9018betgit casinomarsbahismatbetmatbetcasibom

Tag: Genius

  • 6 Genius Ways To Use Electric Kettles Every Day

    6 Genius Ways To Use Electric Kettles Every Day

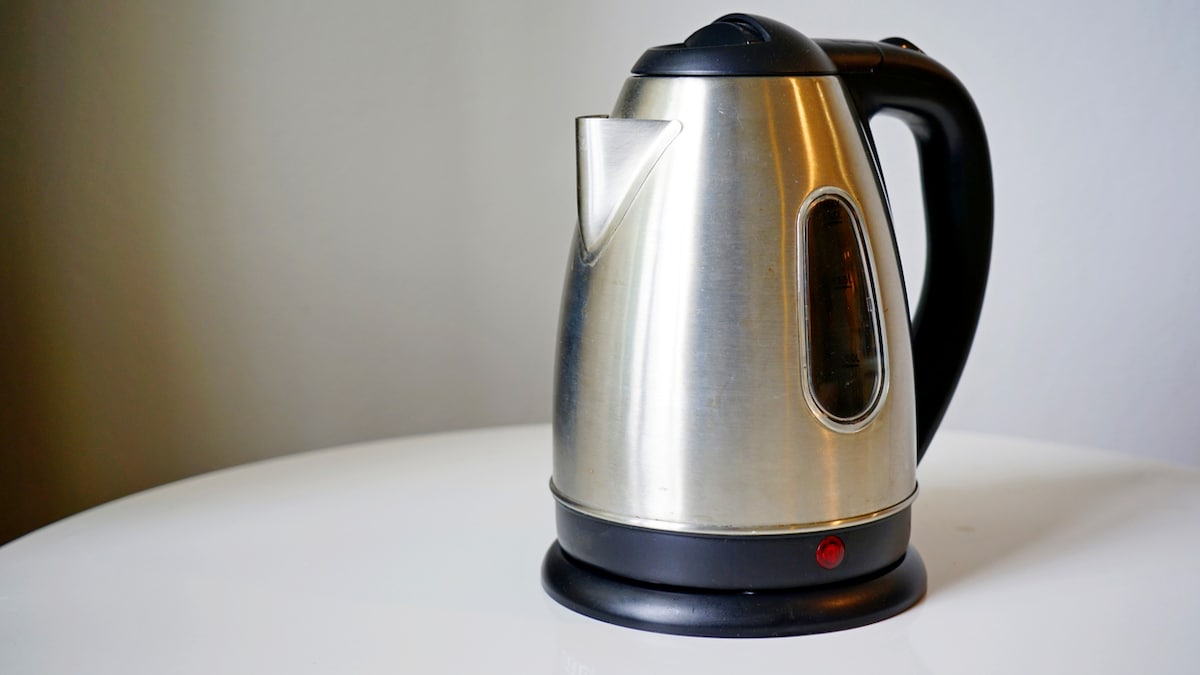
    Electric kettles are seriously underrated when it comes to kitchen essentials. They’re not just for tea or boiling water; they can actually simplify a ton of everyday tasks. With their growing popularity, it’s no surprise you’ll spot one in almost every Indian household. But are you really using your electric kettle to its full potential? Think again! These compact gadgets aren’t just convenient – they’re eco-friendly, too. Let’s dive into six practical ways to make your electric kettle work harder for you.

    Also Read:Living The Hostel Life? Make These 7 Recipes In Your Electric Kettle
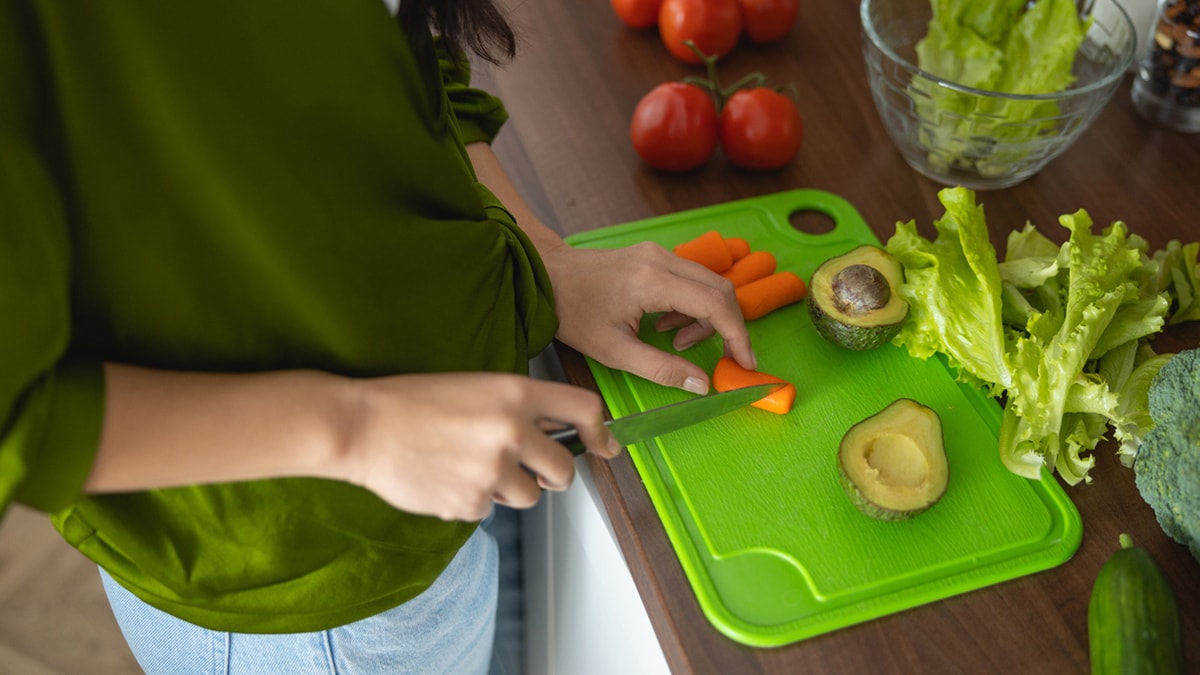
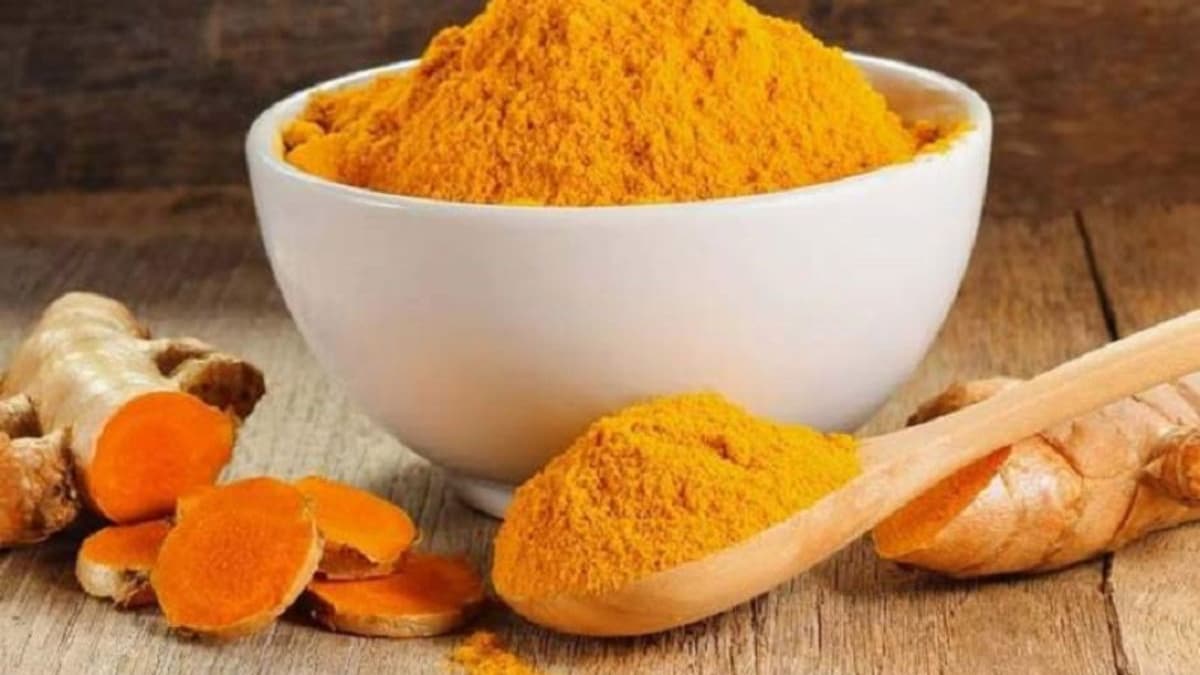
    Latest and Breaking News on NDTV

    Photo: iStock

    Here Are 6 Practical Ways To Get More Out Of Your Electric Kettle:

    1. Speed Up Cooking

    Waiting for water to boil on the stove? Painful, right? Enter your electric kettle! Pre-boil water in your kettle to cut down cooking time for pasta, rice, or even potatoes. It’s also perfect for soaking grains or blanching veggies. On hectic weeknights, this small trick can feel like a lifesaver. Bonus: it’s ridiculously easy to use!

    2. Sterilise Utensils In A Pinch

    Need sterilized water fast? Your electric kettle has your back. Whether it’s baby bottles, kitchen tools, or just tap water that needs a little TLC, boiling water in your kettle is a game-changer. It’s especially handy if you’re travelling or dealing with bad water quality. Just remember to keep your kettle clean for the best results.

    3. Soothe Those Winter Blues

    Feeling under the weather? Your kettle can be your BFF. Use it to whip up herbal teas, warm honey-lemon water, or even instant soups to soothe your sore throat. Need steam inhalation for congestion? Just boil water, pour it into a bowl, and use a towel to trap the steam. Easy and so comforting!

    4. Eco-Friendly Cleaning Magic

    Who needs harsh chemicals? Your kettle is a natural cleaning ally. Pour boiling water over greasy pans, clogged drains, or stubborn kitchen stains to loosen grime. And if your kettle’s looking grimy itself, just boil water with vinegar to descale it. It’ll look brand new in minutes.
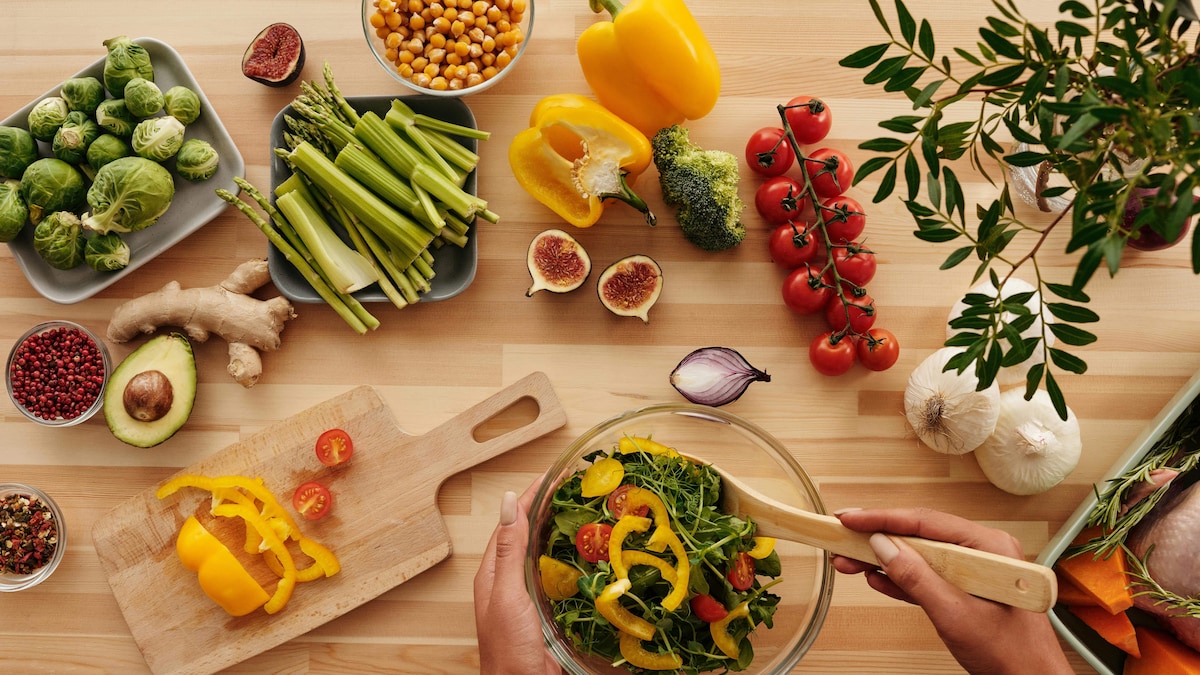
    Latest and Breaking News on NDTV

    Photo: iStock

    5. Revive Dried Foods

    Are dried ingredients giving you a hard time? Let your kettle step in. Whether it’s sun-dried tomatoes, raisins, or dried apricots, just pour boiling water over them and let them soak. In a few minutes, they’ll be plump and ready to use in your dishes. Perfect for when you’re short on time but still want rich, flavorful meals.

    6. Melt Chocolate Like A Pro

    Microwave chocolate? Too risky. Instead, use your kettle for perfectly melted chocolate. Boil water, then place a bowl of chocolate either in the hot water or above it to let the steam gently melt it. No burns, just silky, smooth goodness. Drizzle it over cakes, dip fruits, or just eat it straight up-we won’t judge!

    Also Read: Wait, What? You Can Cook Butter Chicken In Electric Kettle (Recipe Inside)

    With these tips, your electric kettle goes from “just another gadget” to a total MVP in your kitchen. Whether it’s speeding up cooking, cleaning, or whipping up cosy drinks, it’s clear: this little appliance is way more powerful than it looks!

    Source link

  • Plastic Chopping Board Slipping And Sliding? 5 Genius Hacks to Keep It Steady

    Plastic Chopping Board Slipping And Sliding? 5 Genius Hacks to Keep It Steady

    You might think that a chopping board is just a simple surface for cutting vegetables, but its importance should not be underestimated. A strong and durable chopping board is essential for stability, especially when using sharp knives. Plastic chopping boards, though convenient, can pose a slipping hazard if not handled properly. In this article, we’ll share five tips to ensure you can use your plastic chopping board safely and avoid unwanted accidents.

    Why Some Plastic Chopping Boards Are Risky:

    While not all plastic chopping boards are problematic, cheaper versions can be less durable and come with slippery surfaces. These boards can react to food and become unsafe to use over time.
    Also Read:Kitchen Tips: How To Properly Clean Kitchen Knives – Process, Tips And Tricks

    u0hhs9ig

    Photo Credit: iStock

    5 Tips to Keep Your Plastic Chopping Board Stable:

    1. Use a damp cloth below the board:

    To create traction and prevent slipping, place a damp towel or light cotton fabric between the countertop and the chopping board. This simple trick ensures stability during cutting and chopping.

    2. Use paper towels as an alternative:

    If you don’t have cotton fabric, don’t worry! You can use paper towels, in the same way, to maintain stability while using the chopping board.

    3. Invest in a non-slip mat:

    Instead of discarding your plastic chopping board, consider investing in a non-slip mat. These mats can be used for various purposes in the kitchen and provide a practical and safe solution.

    4. Add rubber grips:

    For a long-term solution, purchase four rubber grips from a local hardware shop and stick them to the four corners of the chopping board. This will enhance its grip and prevent slipping.

    5. Keep the board clean and dry:

    To ensure both safety and hygiene, it’s crucial to keep the chopping board clean and dry. Leftover food particles can make the surface greasy and slippery. Regularly clean and dry the board to enjoy safe kitchen practices.
    Also Read:Kitchen Tips: How To Clean Wooden Utensils

    b62l1gag

    Photo Credit: iStock

    How to Clean Your Plastic Chopping Board:

    Cleaning plastic chopping boards can be challenging, as leftover food can hide in the corners. Instead of relying solely on the dishwasher, try the following method:
    1. Cut a lemon into two halves and sprinkle some salt on it.
    2. Scrub the chopping board thoroughly with the lemon halves to exfoliate and remove hidden particles.
    3. Rinse the board with regular water.
    4. Finally, wash the board using your dishwasher.
    5. Once done, dry the board completely by rubbing it with a clean towel and placing it under the sun or a fan.
    By following these five tips and maintaining proper cleaning practices, you can use your plastic chopping board safely and reduce the risk of accidents in the kitchen. Remember, investing in a good-quality chopping board with a non-slip surface is a small but essential step towards ensuring your safety while preparing meals.

    About Somdatta SahaExplorer- this is what Somdatta likes to call herself. Be it in terms of food, people or places, all she craves for is to know the unknown. A simple aglio olio pasta or daal-chawal and a good movie can make her day.

    Source link

  • 6 Genius Tips For Making the Yummiest Lauki Paratha Ever

    6 Genius Tips For Making the Yummiest Lauki Paratha Ever

    Lauki (or bottle gourd) is one of those veggies that doesn’t get enough love, even though it’s packed with water and fibre that keep your digestion on track. Yep, no more constipation, acidity, or bloating! But let’s be real – most people turn up their noses at the mere mention of lauki. Well, not anymore! We’ve got a mouthwatering recipe for lauki paratha that’ll change your mind. There are a ton of parathas made in Indian kitchens, but lauki paratha? It’s a whole different ball game. Not only is it super healthy, but the taste is so unique, you’ll be hooked! There are two ways to make it-stuffed or non-stuffed. The non-stuffed version is a breeze: just grate the lauki, mix it with spices and flour, and you’re good to go. But the stuffed version? That’s a bit tricky.

    Don’t worry, though – we’ve got some smart hacks to make the stuffed version easier! Ready? Let’s dive into these genius tips.

    Latest and Breaking News on NDTV

    Also Read: Weight Loss: 5 Delicious Lauki Recipes That May Help You Lose Weight

    Here Are 6 Genius Tips For Making the Yummiest Lauki Paratha Ever:

    1. Grate Your Lauki Like a Pro

    First things first, you’ve got to grate the lauki. Use the thick side of your grater to get the perfect texture for the stuffing. If your lauki has big seeds, scoop those out and toss them-they’re a no-go for this recipe.

    2. Squeeze Out All the Water

    Lauki is loaded with water, and that can mess up your parathas. Here’s the trick: after grating, sprinkle some salt on it and let it sit for 5 minutes. This will help draw out the extra water. Once that’s done, squeeze it well. Bonus tip: save the water for kneading the dough-it’s loaded with nutrients!

    3. Mix the Dough Right

    Now, take some flour, add salt, ajwain, kasuri methi, and a pinch of semolina for that crispy texture. Use the water from the lauki to knead the dough-trust us, it makes the paratha even healthier! Let the dough rest for at least 10 minutes before you start rolling.

    4. Prep the Lauki Stuffing

    Time to spice things up! Add chopped onions, green chillies, red chilli powder, salt, fresh coriander, and a pinch of hing to your grated lauki. Heads up: the salt and onions will release more water, so give the mixture another good squeeze before stuffing. Check the salt level too-you don’t want a bland stuffing!

    5. Add Roasted Gram Flour to the Mix

    If your stuffing’s still a bit watery, you’ll have trouble rolling out the parathas. No worries! Just mix in some roasted gram flour-it’ll soak up the extra moisture. Don’t have gram flour? A little wheat flour will do the trick too.

    6. Roll and Cook Like a Boss

    Take a small ball of dough, roll it out a bit, add the lauki stuffing in the centre, and fold it up from all sides. Roll it out gently, and then cook on a hot tawa with some ghee. Cook until both sides are golden and crispy. Pair your hot, delicious paratha with raita, chutney, or even a curry for the perfect meal!

    Now you’re all set to make this super tasty and nutritious lauki paratha right at home!

    Source link

  • 5 Genius Hacks to Keep Your Fried Foods Crispy For Long

    5 Genius Hacks to Keep Your Fried Foods Crispy For Long

    Some foods taste better when they are crispy, hot, and crunchy. Regrettably, preserving the crispiness of our beloved fried foods can be challenging, especially if you have to serve them in bulk at a party or an event. But fret not! We have decoded the tricks to keep your favourite pakodas and fries perfectly crispy for a long and never succumb to sogginess. Sounds perfect, right? So, get your pen and paper now and take note of the tips to keep fried foods crispy for a longer time.

    Why Does Your Food Lose Crispiness? What Is The Science Behind Food Turning Soggy?

    According to The Journal of Texture Studies, crusted crispness refers to coatings with a dry and brittle surface contrasting a high-moisture core. This texture is “desirable for the enjoyment and quality of deep-fried goods.” The findings state that those fried foods typically lose crispiness “due to the adsorption of moisture from the atmosphere or water mass transfer from the internal component.” So, the idea is to avoid moisture absorption to keep up the crunchy texture of your food. Let’s find out how.

    Also Read: 5 Deep Frying Hacks Every Novice Cook Must Keep In Mind

    Add image caption here

    Photo Credit: iStock

    Here Are 5 Easy Tricks To Keep Your Pakodas And Fried Foods Crunchy For Long:

    1. Wire rack is the saviour:

    Whether you air fry the food or follow the traditional deep-frying technique, transfer the fried food immediately to a wire rack to keep up the crispiness for long. Wonder why? It is because the wire rack provides 360-degree air circulation around the entire food item, allowing any excess moisture to escape.

    2. Warm in the oven:

    We often turn our foods soggy while reheating them. To avoid it, keep your fried foods in the oven, on a wire rack. Then bake it for around 15 minutes. This will help your food retain its texture easily.

    3. Avoid reheating in a microwave oven

    Do not reheat food in the microwave oven. Heating food in the microwave creates friction between water molecules inside the food, further creating steam. Instead, use a traditional oven, where the dry heat will help maintain the original texture of your dish.

    4. Avoid adding sauce to the dish

    The best practice is to avoid adding sauce to your crispy dish. And if at all you want to do it, wait until the last moment. Apply the sauce just before serving to retain crispiness until consumption.

    5. Pack the fried food mindfully

    If you want to pack your fried food for work, first wrap it in a paper towel to absorb excess moisture, then put it in an air-tight container. Also, take your dips and sauces separately to avoid moisture absorption.

    Got all your answers? So, what are you waiting for? Follow these hacks and impress your guests with crispy fried foods at the party.

    Source link

  • 5 Genius Ingredient Swaps That Will Make Your Desi Salads 10x Better

    5 Genius Ingredient Swaps That Will Make Your Desi Salads 10x Better

    Salads have come a long way from being seen as mere “diet food” to becoming vibrant, flavour-packed meals that satisfy both the stomach and the taste buds. Whether you are managing your weight or simply craving a lighter and refreshing alternative to your regular meals, salads are a great choice. However, when searching for salad recipes online, the exquisite variety of ingredients can make you feel overwhelmed and hopeless. What is healthy? What will suit your palate? What if we told you that you can make simple ingredient swaps in your desi salads to make them as delicious and nutritious? Well, it is possible! How? Read on to discover some popular ingredient swaps for your desi salads.

    Also Read: 5 Easy Vermicelli Salads That Will Make Your Office Lunches Way More Exciting

    Latest and Breaking News on NDTV

    Photo Credit: iStock

    Here Are 5 Ingredient Swaps For Your Desi Salads:

    1. Swap Regular Lettuce for Spinach or Methi

    Lettuce? Nah! Spinach and methi should be your salad base. These veggies are packed with more nutrients and bold flavours. Spinach adds a subtle sweetness, while methi – being slightly bitter in taste – adds an earthy flavour that pairs perfectly with Indian spices. These greens are also packed with more iron and vitamins, so your salad goes from bland to grand! Aside from texture and taste, these greens also add a desi twist to your healthy meal.

    2. Ditch Croutons For Masala Roasted Makhana

    Yes, all those restaurant-made salads have croutons that add a delicious crunch. But they can be too basic, right? Instead, add a delightful crunch to your homemade salads by swapping them with masala roasted makhana (foxnuts). Not only are they crispy and light, but they are also protein-packed and guilt-free. Just sprinkle some chaat masala on top, and you will get a flavour explosion in every bite. Plus, makhana adds that perfect chatpata crunch without the guilt of extra carbs from croutons.

    3. Say No To Mayonnaise And Yes To Hung Curd

    We all love a creamy dressing on the salad, but mayonnaise can be heavy. Instead, choose hung curd that provides the same texture and creaminess. It is lighter, full of probiotics, and still gives that rich texture we crave in salads. Plus, it pairs wonderfully with desi flavours like roasted jeera or mustard oil. The tang of hung curd, combined with the raw taste of veggies, makes for a delightful combination.

    4. Replace Cheese With Paneer or Tofu

    Cheese may be associated with indulgence, but paneer and tofu are the real stars when it comes to adding protein to your salad. Grilled or sautéed paneer gives a satisfying bite, while tofu soaks up the flavours of the dressing and spices. Plus, both taste amazing with ingredients like chaat masala, garam masala, lemon juice, and mustard oil. So, say goodbye to cheese and hello to paneer power!

    5. Switch Bottled Dressing For Lemon and Olive Oil

    Are you tired of using preservative-filled bottled dressings? Well, not anymore! Use a combination of fresh lemon and olive oil that works like magic. Add a pinch of black salt, roasted cumin powder, or even chaat masala for that extra tang. This simple dressing is healthier and far more vibrant than store-bought options. Plus, it is quick, easy, and keeps your salad light and fresh – just the way you like it!

    Also Read: Obsessed With Korean Dishes? This Korean Cucumber Salad Will Blow Your Mind

    Source link

  • How To Store Turmeric: 5 Genius Tips You Need To Know

    How To Store Turmeric: 5 Genius Tips You Need To Know

    Turmeric is a superstar spice in Indian kitchens, adding a vibrant colour and unique flavour to dishes. It’s not just a culinary essential but also a key player in traditional rituals and Ayurvedic remedies. From boosting immunity with turmeric milk to its versatile uses, this spice packs a punch. But let’s face it, keeping turmeric fresh can be a challenge. If you’ve ever found your turmeric turning into a lumpy mess or attracting unwanted insects, it’s probably because it wasn’t stored right. Don’t worry, we’ve got you covered with some easy tips to keep your turmeric in tip-top shape. Check them out!

    Also Read : Ran Out Of Turmeric Last Minute? Try These 5 Substitutes For Similar Taste And Flavour

    Latest and Breaking News on NDTV

    Here Are 5 Genius Tips To Store Turmeric That You Need To Know:

    1. Go for an Airtight Container

    Turmeric hates moisture as much as we hate soggy fries! To keep it fresh, always store it in an airtight container. Seal that lid tightly to keep any air out and ensure your turmeric stays nice and dry.

    2. Keep It Moisture-Free

    Before you toss turmeric into your container, make sure it’s bone-dry. A quick fix? Let the container bask in the sun for a bit to chase away any lingering moisture. This little trick extends the life of your turmeric and keeps it from clumping.

    3. Toss in a Bay Leaf

    Ever bought turmeric in bulk and found insects in it later? Yikes! To prevent this, drop a few bay leaves into the container. Their strong scent keeps bugs at bay, but don’t forget to replace the leaves every now and then.

    4. Store It in the Dark

    Light and heat are not turmeric’s best friends. Keep your spice in a cool, dark place, like a cupboard or a shelf away from direct sunlight. This helps maintain its flavour and prevents it from going bad too soon.

    5. Grind Only

    What You Need If you prefer fresh turmeric, wash and dry it thoroughly before storing it. Wrap it in a zip-lock bag or towel and pop it in the fridge. Grind just the amount you need when you’re ready to use it, and you’ll have fresh turmeric at your fingertips whenever you want!

    So next time you’re storing turmeric, remember these tips and enjoy the perfect colour and flavour it brings to your dishes!

    About PayalFood in the mind, Bollywood in the heart – these two things often shimmer in Payal’s writing. Besides penning thoughts, Payal enjoys a playful tango with new and delicious recipes. Roaming around is her jam; whether catching up on the latest flicks or grooving to the beat, Payal knows how to keep her empty moments brimming with flavour and rhythm.

    Source link

  • 5 Genius Ways To Reuse Green Tea Bags In And Around The House

    5 Genius Ways To Reuse Green Tea Bags In And Around The House

    The next time you are sipping a hot cup of green tea in the morning, resist the urge to throw off the tea bags. Why, you ask? Well, as it turns out, green tea bags can be repurposed in and around the kitchen! Most of us simply throw them off but these little packets of joy have a lot of potential in them. Not only are they beneficial for health but also have nutrients and properties that make them an excellent alternative to chemicals-laden products. If you are a fan of maintaining an eco-friendly kitchen, then this article is for you! Read on to learn 5 genius ways to reuse green tea bags in and around the house.

    Also Read: Green Tea Vs. Green Tea Extract: Which One Is Better For You?

    Latest and Breaking News on NDTV

    Photo Credit: Pexels

    Here Are 5 Interesting Ways To Use Used Green Tea Bags

    1. Powerhouse For Plants

    Do you feel like water and manure are not enough for your plants? Then use your used green tea bags to give them some extra love. Used green tea bags are packed with nutrients that can boost your soil. Just cut the green tea bag and bury the leaves directly in your garden or toss them in your compost pile. These leaves help retain moisture, and improve soil structure, and a dash of nitrogen that your plants would absolutely love! It’s like giving your plants a daily shot of espresso, without the taste. So, the next time you finish your tea, think twice before tossing that tea bag.

    2. Keep Your Fridge And Shoes Smell-Free

    Is your refrigerator reeking a bit “ripe?” Are your shoes smelling a little funky? Then use your leftover green tea bags to eliminate unwanted odours. Just dry the green tea bags and put them in your fridge and shoes. Green tea is a master when it comes to absorbing funky smells and will leave everything smelling fresh and fabulous.

    3. Give Your Skin Some Natural Care

    If you spend a fortune on skincare products, then it’s time to change your habits! Green tea bags are here to save the day. These little wonders are rich in antioxidants and anti-inflammatory properties that can help reduce puffiness on your face and brighten up your skin. All you have to do is chill the used tea bags in the fridge and then place them over your eyes and face. It is like a natural, de-puffing eye treatment. Or, you can steep them again, let the tea cool and use it as a facial toner. It is like a mini-spa treatment but without over-the-top expenditure.

    Latest and Breaking News on NDTV

    4. Swap Chemical-Cleaners For A Natural One

    Forget chemicals-packed house cleaners. Your leftover used green tea bags can make your home sparkle and shine naturally. All you have to do is take 6-7 green tea bags and re-steep them in hot water. Once the leaves release their flavours, let the water cool down. With this water, you can wipe down wooden furniture, glass, or even mirrors. The tannins present in green tea can help remove dirt and grime and leave your home essentials looking gorgeous and shiny. Plus, your house will smell fresh and earthy after the cleaning, so win-win!

    5. Treat Skin Irritations Naturally

    Did you get a sunburn or a nasty bug bite? Then green tea bags can come to your rescue. Thanks to their anti-inflammatory properties, used green tea bags can provide instant relief from minor skin irritations. After you finish your green tea, let the bag cool down and then put it in your fridge to chill. Then gently press the cold tea bags onto the affected area. It is a quick and easy way to reduce redness, swelling and mild itching on your skin. So, the next time you have a bug bite, you know what to do!

    Also Read: 3 Amazing Green Tea Face-Packs For A Healthy And Spotless Skin

    Can you think of any other way to reuse green tea bags? Let us know in the comments below!

    Source link