hacklink hack forum hacklink film izle hacklink marsbahisizmir escortsahabetpornJojobetcasibompadişahbetGorabetcasibom9018betgit casinomarsbahismatbetmatbetcasibom

Tag: Keema

  • Love Keema? This Creamy Chicken Malai Keema Will Blow Your Taste Buds Away

    Love Keema? This Creamy Chicken Malai Keema Will Blow Your Taste Buds Away

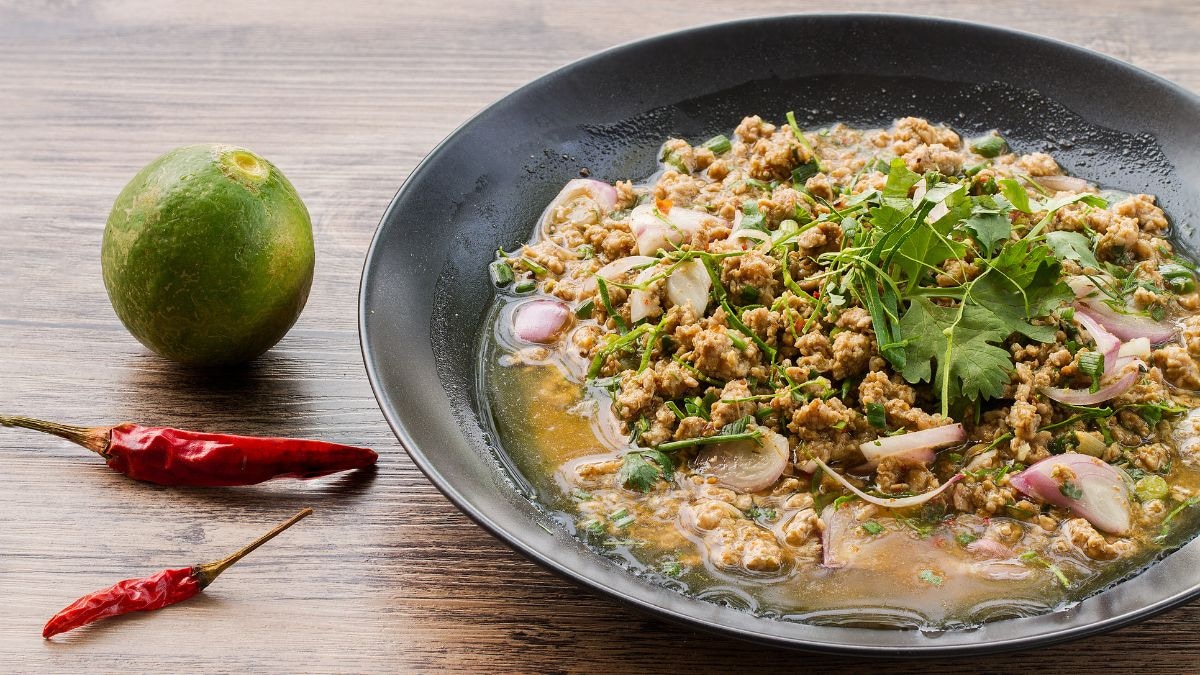
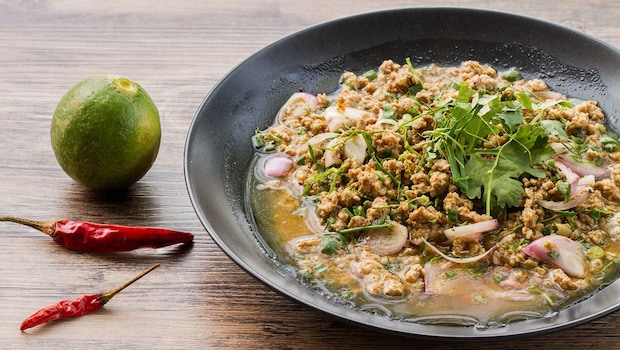
    Keema is a dish that no chicken lover can get enough of. Minced chicken cooked with chillies, onions, and spices – it’s simple yet incredibly delicious. When paired with hot pavs or crispy parathas, nothing can beat that combination. As a keema lover, you’ve probably tried regular chicken keema many times, and no doubt, it tastes amazing. But imagine adding even more deliciousness to this already heavenly dish. Meet Chicken Malai Keema – a unique chicken keema recipe that elevates its flavour to the next level. This recipe was shared by Chef Natasha Gandhi on her Instagram handle.
    Also Read: Craving A One-Pot Dish? Learn How To Make Chicken Keema Matar

    What Makes Chicken Malai Keema A Must-Try Dish?

    Chicken malai keema is a dish that no keema lover should miss. It’s rich, creamy, and packed with flavour. As soon as you take the first bite, you’re sure to become an instant fan. Moreover, it’s incredibly easy to prepare, so you don’t need to worry about your cooking skills. All you need are a few basic ingredients and 20-25 minutes of your time.

    How To Ensure Chicken Malai Keema Turns Out Creamy?

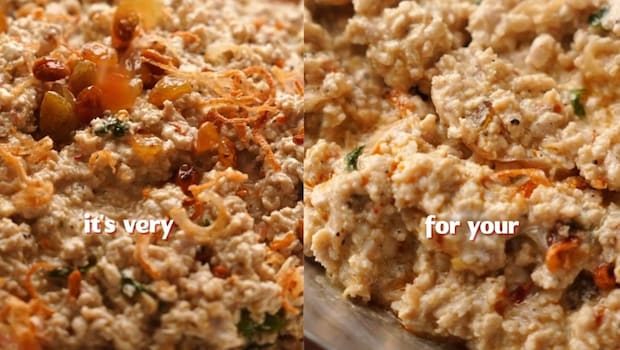
    What sets this dish apart from regular keema is its creaminess. To achieve this, ensure you add plenty of cheese while cooking. While this recipe uses processed cheese, you can also opt for mozzarella. Try to get your hands on fresh cheese for that perfect creamy texture. The more cheese you add, the better your chicken malai keema will turn out.

    How To Make Chicken Malai Keema At Home | Chicken Malai Keema Recipe

    • In a bowl, combine the chicken keema, yoghurt, cream, ginger-garlic-chilli paste, black pepper powder, chilli flakes, and lemon juice. Mix well.
    • Next, heat ghee in a large kadhai and add peppercorns, bay leaf, slit green chillies, and green cardamom. Saute for a few seconds.
    • Now, add the chicken keema mixture to the kadhai and cook until the keema is thoroughly cooked.
    • Once the keema is 90% cooked, add the birista (fried onions), fresh mint leaves, and lots of processed cheese.
    • Smoke the mixture, then garnish with more birista, mint leaves, fried raisins, and green chillies.
    • Enjoy your creamy chicken malai keema with crispy parathas!

    Also Read: 5 Tried-And-Tested Tips To Make Perfect Green Keema At Home

    Watch the full recipe video for chicken malai keema here:

    Are you already slurping? Don’t delay – try making this delicious dish over the weekend and impress your family with your culinary skills.

    About Vaishali KapilaVaishali finds comfort in eating parathas and rajma chawal but is equally enthusiastic about exploring different cuisines. When she’s not eating or baking, you can often find her curled up on the couch watching her favourite TV show – FRIENDS.


    Source link

  • 5 Tried-And-Tested Tips To Make Perfect Green Keema At Home

    5 Tried-And-Tested Tips To Make Perfect Green Keema At Home

    Many keema lovers have their favourite versions and dishes they crave again and again. Some may like a classic preparation to eat with bread, while others may prefer keema snacks. At my home, one of the most beloved keema recipes is a dry and spiced green keema. Inspired by Bombay-style flavours, this dish never disappoints – when made right. To that end, we have listed down some key tips to keep in mind while attempting this keema recipe. You can also access more details through a link at the end. Check them out below:

    Here Are 5 Key Tips To Make Delicious Hara Keema At Home:

    1. Boil the green peas with the mince

    Many keema recipes include green peas. If cooked well, the texture of each complements the other to elevate the overall taste. We recommend cooking them together for enhanced flavour. Boil the green peas along with the keema when you begin to follow this recipe. If you add green peas at a later stage, they may remain raw to a certain extent. This will also affect the mouthfeel of the dish.

    2. Cook the keema on low flame and half covered with a lid

    The keema needs to be cooked through properly. If you keep the flame on high, you may overcook it. We suggest half covering the vessel in which you are boiling the keema with a lid. If you keep it fully open, the flavour may escape. If you cover it completely, the water can rise and spill. Ensure you stir the keema 2-3 times in between and cook till the water has evaporated. Later, allow it to dry – excess moisture should not be present.

    3. Opt for oil – not ghee or any other fats

    Oil is the best option for this green keema recipe. Ghee may alter the taste and consistency of the dish in unwanted ways. Oil can help keep it balanced. Remember that general mince contains some fat, which will anyway get added to the dish.

    4. Add fresh mint and coriander leaves towards the end

    Mint and coriander leaves add lovely flavour and colour to your keema. It is important that you use the freshest possible leaves. Moreover, take care to add them towards the end of your cooking to make the most of them. Adding them too early may hamper their look, texture and flavour.

    5. Use this green keema in different ways

    This dry green keema is the definition of versatility. You can scoop it up with rotis or pav. You can also use it as a key ingredient for a variety of other dishes, including samosa, baida roti, pulao, etc. (Read more here). You can also transform it into a more gravy-like preparation with a unique hack. Simply mix around 1/2 cup of this dry keema with 1 cup water and 1 tbsp of green chutney (the kind typically made with coriander and/or mint leaves). Cook for 5 minutes and your keema gravy is ready! You can top it with a boiled egg if you like.

    Click here for a step-by-step recipe for this Green Keema

    We would love to hear your thoughts on this keema recipe. Try it soon and let us know how it turns out!

    Source link