What comes to mind when you think of Bihari cuisine? Let us guess: your answer would most probably be litti chokha, dal pitha, or sattu paratha, right? Sure, these dishes taste incredible and are an integral part of Bihari cuisine, but there are several other undiscovered recipes. And honestly, we think they too deserve some attention! Among the many, one that you should definitely try is Matar Ki Dal. Yes, a dal made with matar (peas)! Typically, matar is added to rice dishes, parathas, and sabzis, but here’s a recipe that uses it to make a wholesome dal. So, if you’re a dal lover, do give this hidden gem a try for your next meal, and we guarantee you’ll fall in love with it instantly.
Also Read: Aloo Chana Jhol: A Tangy Curry That Will Make You Fall In Love With Bihari Cuisine

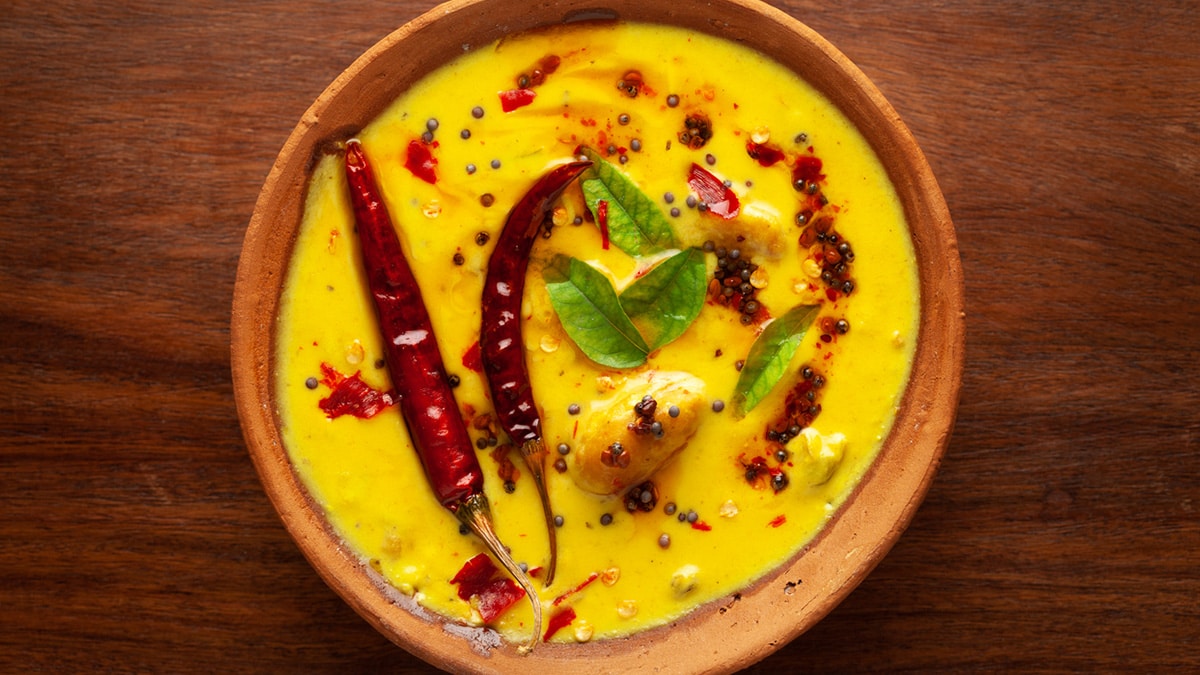
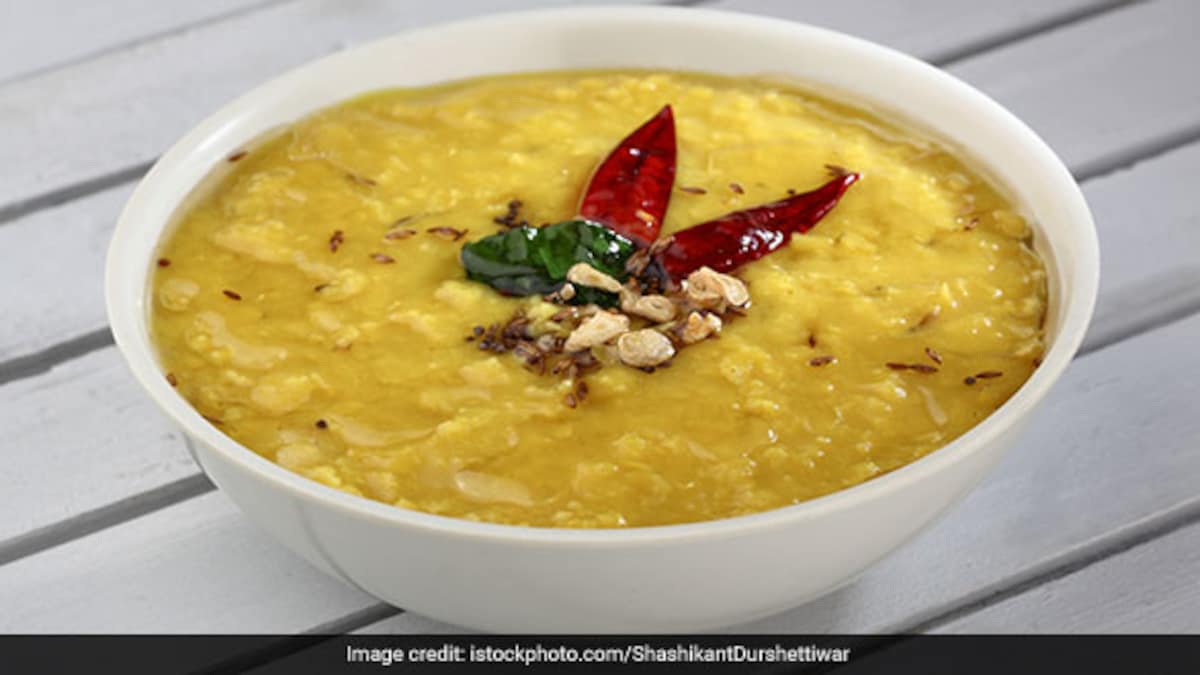
Photo Credit: iStock
How Does Matar Benefit Your Body?
Matar has some amazing benefits to offer for our health. Here are some that you should know:
1. Good Source Of Plant Protein
Matar is an excellent source of plant-based protein. If you’re wanting to lose weight or strengthen your muscles, it could be a great addition to your diet.
2. Promotes Digestive Health
Have you been experiencing digestive issues lately? Matar could help provide some relief. Its high fibre content helps keep issues such as bloating and gas at bay.
3. Boosts Heart Health
Since it is rich in magnesium and potassium, matar can aid in lowering cholesterol and managing blood pressure, thus keeping your heart healthy.
What Can You Pair With Bihari Matar Ki Dal?
Bihari matar ki dal pairs beautifully with a serving of steamed rice. Additionally, you can also relish this dal with soft rotis or crispy lachha paratha – it’ll taste just as good! Pair the dal with a flavourful sabzi, some achaar, and onions to put together a wholesome and protein-rich meal.
How To Make Bihari Matar Ki Dal At Home | Bihari Recipes
The recipe for Bihari matar ki dal was shared by the Instagram handle @cookwithshivangi_. To make this:
- Grind fresh matar with ginger, garlic, chillies, and black pepper in a food processor.
- Once done, transfer the mixture to a pressure cooker. Add haldi, salt, and hing, and pressure cook for up to 3 whistles.
- Next, heat mustard oil in a kadhai and add jeera, bay leaf, dried red chillies, cloves, onions, and green chillies. Saute well.
- Add fresh coriander stems along with chopped tomatoes. Cook until the tomatoes become soft in texture.
- Now, add salt, haldi, and chilli powder. Once the masala begins to release oil, add the boiled matar and give everything a good mix.
- Add water to adjust the consistency and let it boil for 15 mins
- Garnish the dal with fresh coriander leaves and serve hot!
Watch the complete video here:
Also Read: Bored Of Plain Pooris? Try This Winter-Special Bihari-Style Murauri Poori Instead
Looks delicious, doesn’t it? Make this Bihari-style dal for your next lunch or dinner meal and enjoy it with your family. Happy Cooking!